Download MySQL
There are several ways to install MySQL. This article focuses on utilizing MySQL Installer for Windows to install MySQL. You will need administrative rights to install MySQL.
Press Windows-key + Pause on your keyboard to open System Properties. System Type will indicate whether your computer is x86 (32-bit) or x64 (64-bit). Remember system type and close System Properties.
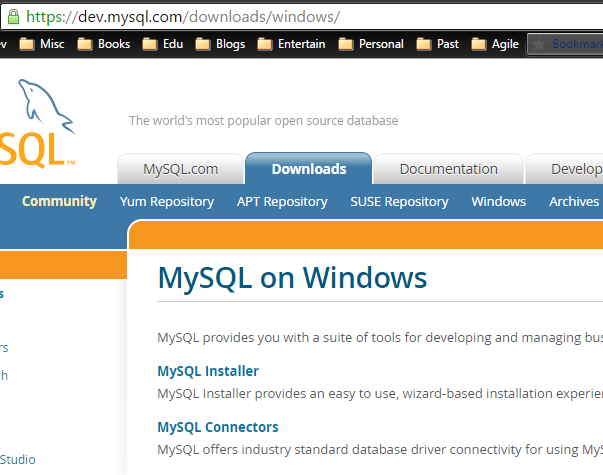
Visit https://dev.mysql.com/downloads/windows/
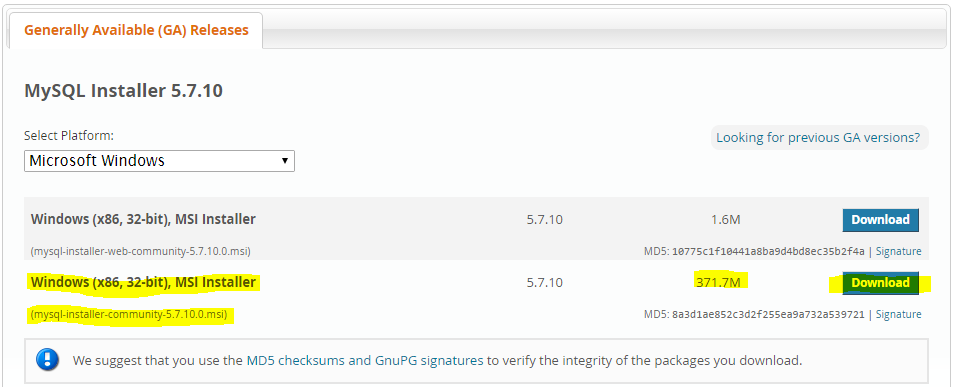
Click on MySQL Installer. Scroll to the bottom of the page to find one or more MSI installers. Choose the one with the largest size for your architecture (32-bit or 64-bit). In my case, I am on a 32-bit computer and will choose 32-bit installer.
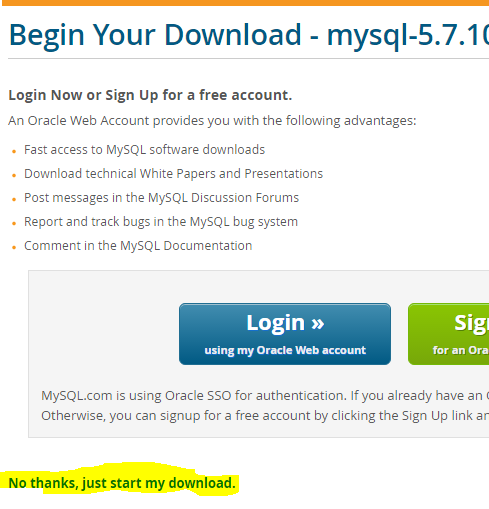
Click Download button. You may be navigated to a screen that prompts creation of an account with Oracle. On that screen, scroll to the bottom to see a link that allows download without creating an account. Click that link. View an example below of the screen that may appear.
Click No thanks… link to begin download.
Install MySQL
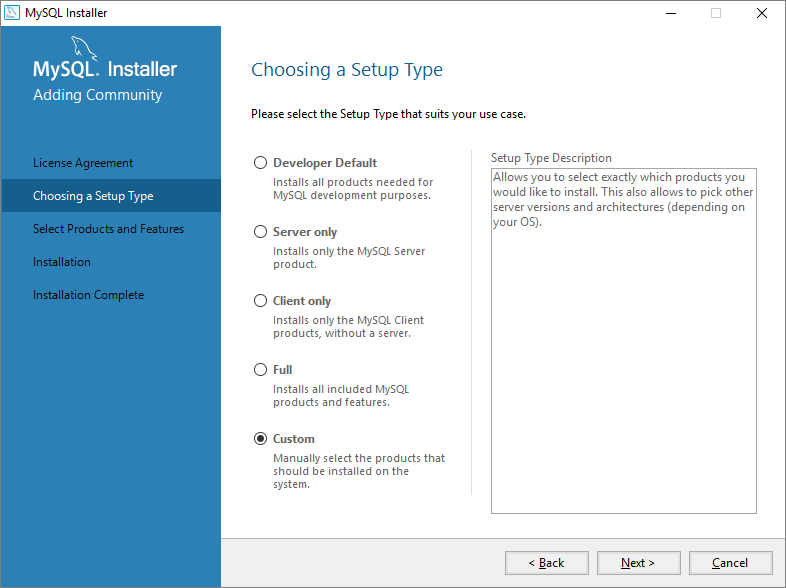
After download is complete, click/double-click on the installer. It will take a few seconds for the installer to bring End User License Agreement on the screen. Accept the agreement and you will be prompted with a selection of installation type. Choose Custom as shown below.
Click Next to bring up a screen to choose products for installation.
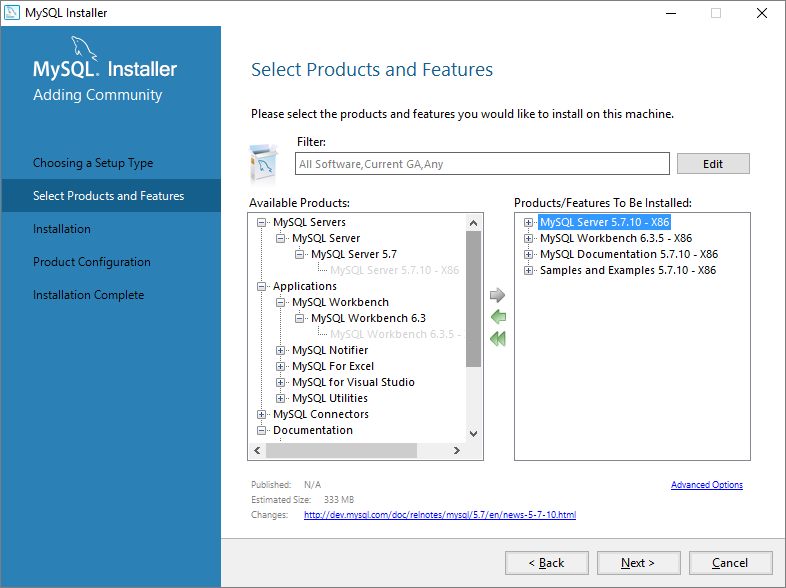
Expand MySQL Server and choose MySQL Server 5.7.10.
Go to Applications > MySQL Workbench 6.3 and choose workbench
Click on Documentation and select MySQL Documentation
Expand Documentation, if not already expanded, and choose Sample and Examples 5.7.10
Click Next. There should be 4 items ready for installation – server, workbench, documentation and samples. Click Execute.
After installation is complete, click Next.
Configure MySQL
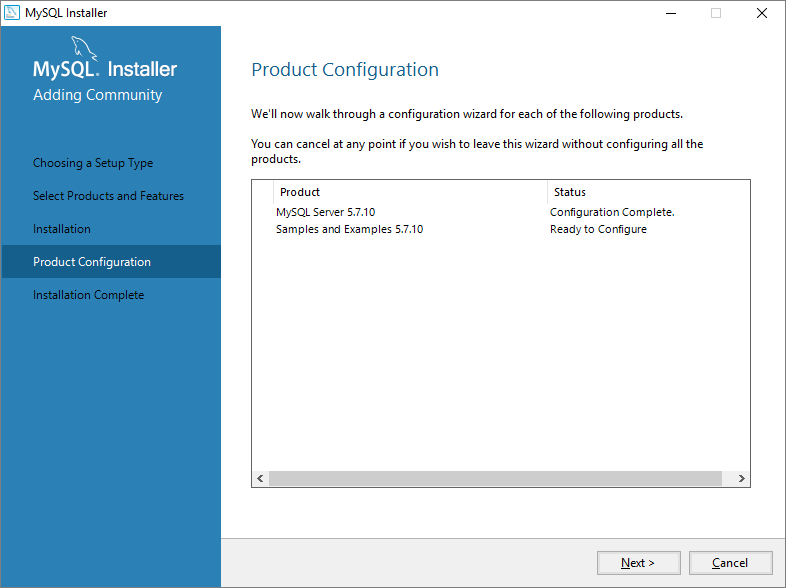
Product Configuration screen will indicate the need to configure MySQL Server and Samples. Click Next.
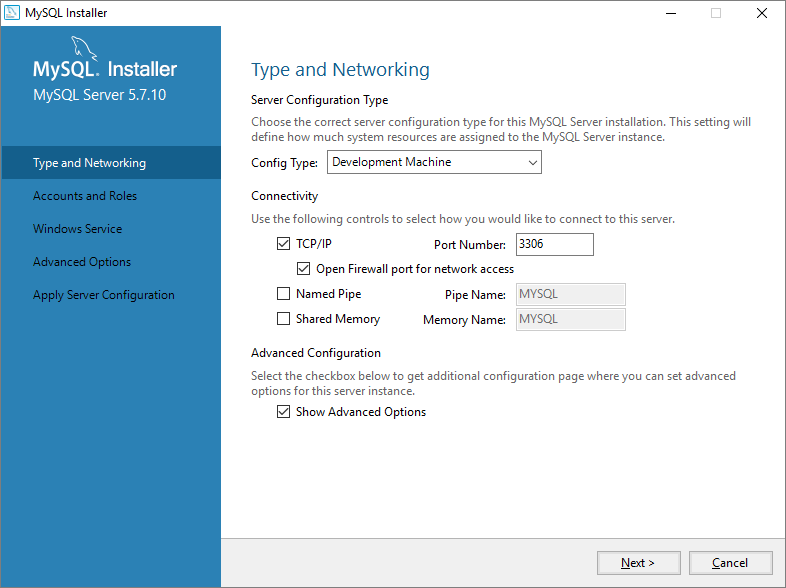
Keep the configuration type as Development Machine. Keep TCP/IP and 3306 port as-is. Allow installer to open firewall port for network access. Also choose Show Advanced Options.
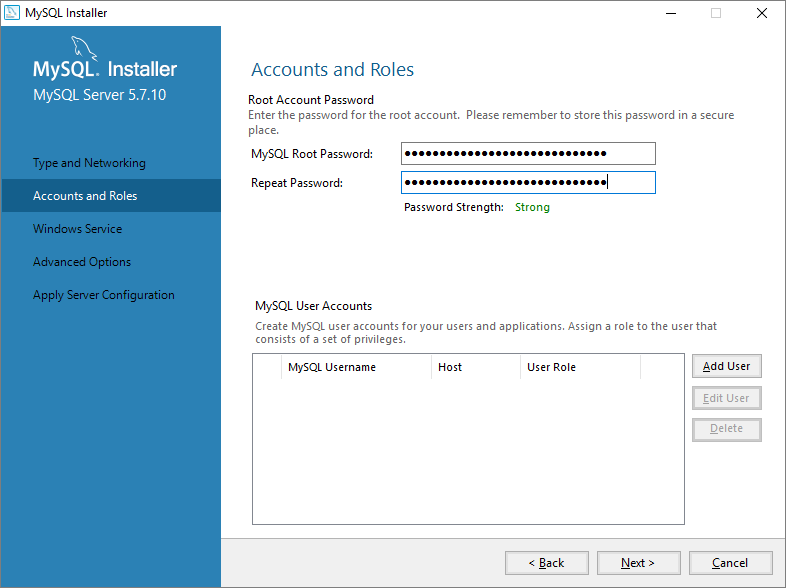
Set up MySQL root password. Type in a complex password. Do not create any user at this time.
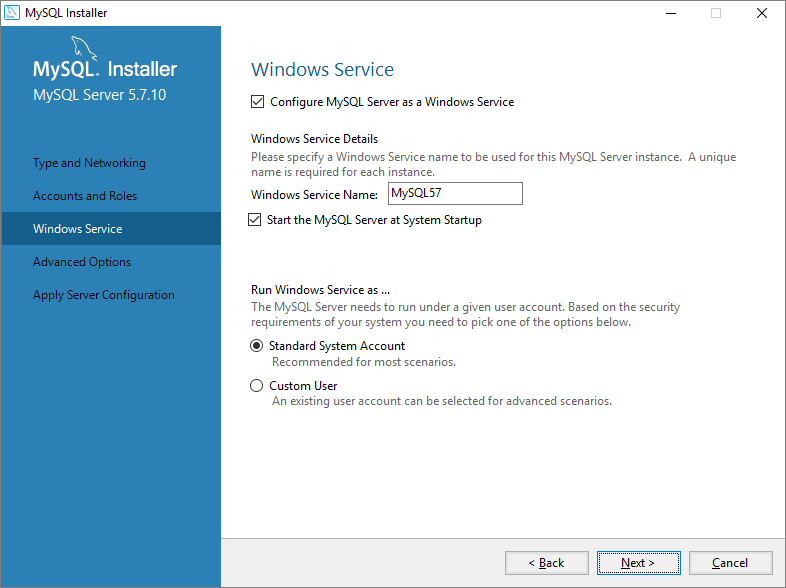
Click Next. Install MySQL as a Windows Service. This is the easiest manner to start, stop, restart MySQL and allow Windows to start MySQL when Windows starts.
Leave the advanced setting as is. While at this step, please Google for General Log, Slow Query Log, Server ID and MySQL Replication. This article does not go into details of each of these settings.
Click Next and in the screen that follows, click Execute. If everything is successful, click Finish. Otherwise, use the log to determine what happened.
Click Finish to move to configuration of Sample.
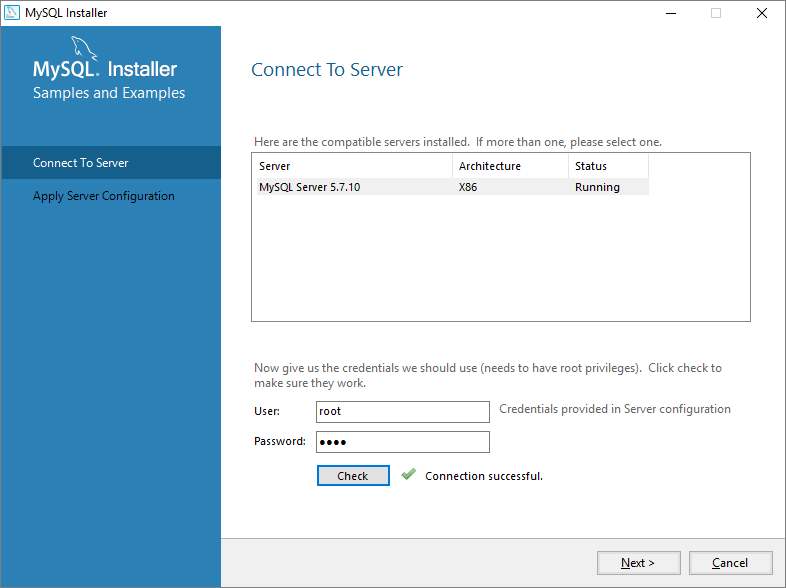
Click Next. In the screen that follows, click Check button. That enables the Next button.
Click Execute. This process will run all the necessary scripts to configure sample. If it is successful, click Finish. Otherwise, analyze log tab to figure out what went wrong.
Click Next. Leave Start MySQL Workbench after Setup checked. Click Finish. Workbench will start by itself in a few seconds.
Connect to MySQL
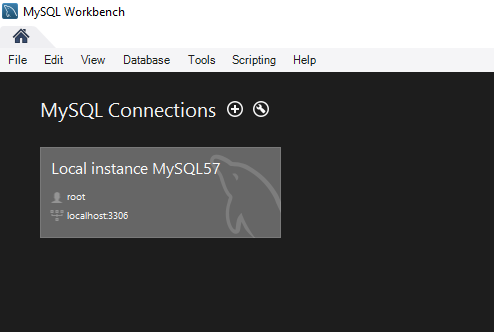
At this point, MySQL Server has been installed and it is running. To access MySQL Server, we will use MySQL Workbench as a client. When Workbench starts, a connection to local database would have been created by default like so.
Double-click on Local instance MySQL57 connection and type in root password to gain access to the server.
This concludes the installation article.
